Understanding Backlit Character Inspection: A Practical Guide for Aerospace Quality Teams
Why Backlit Character Inspection Is So Demanding
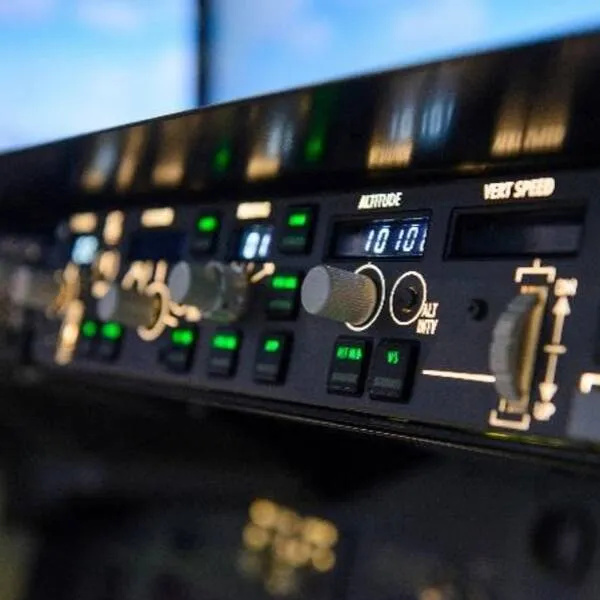
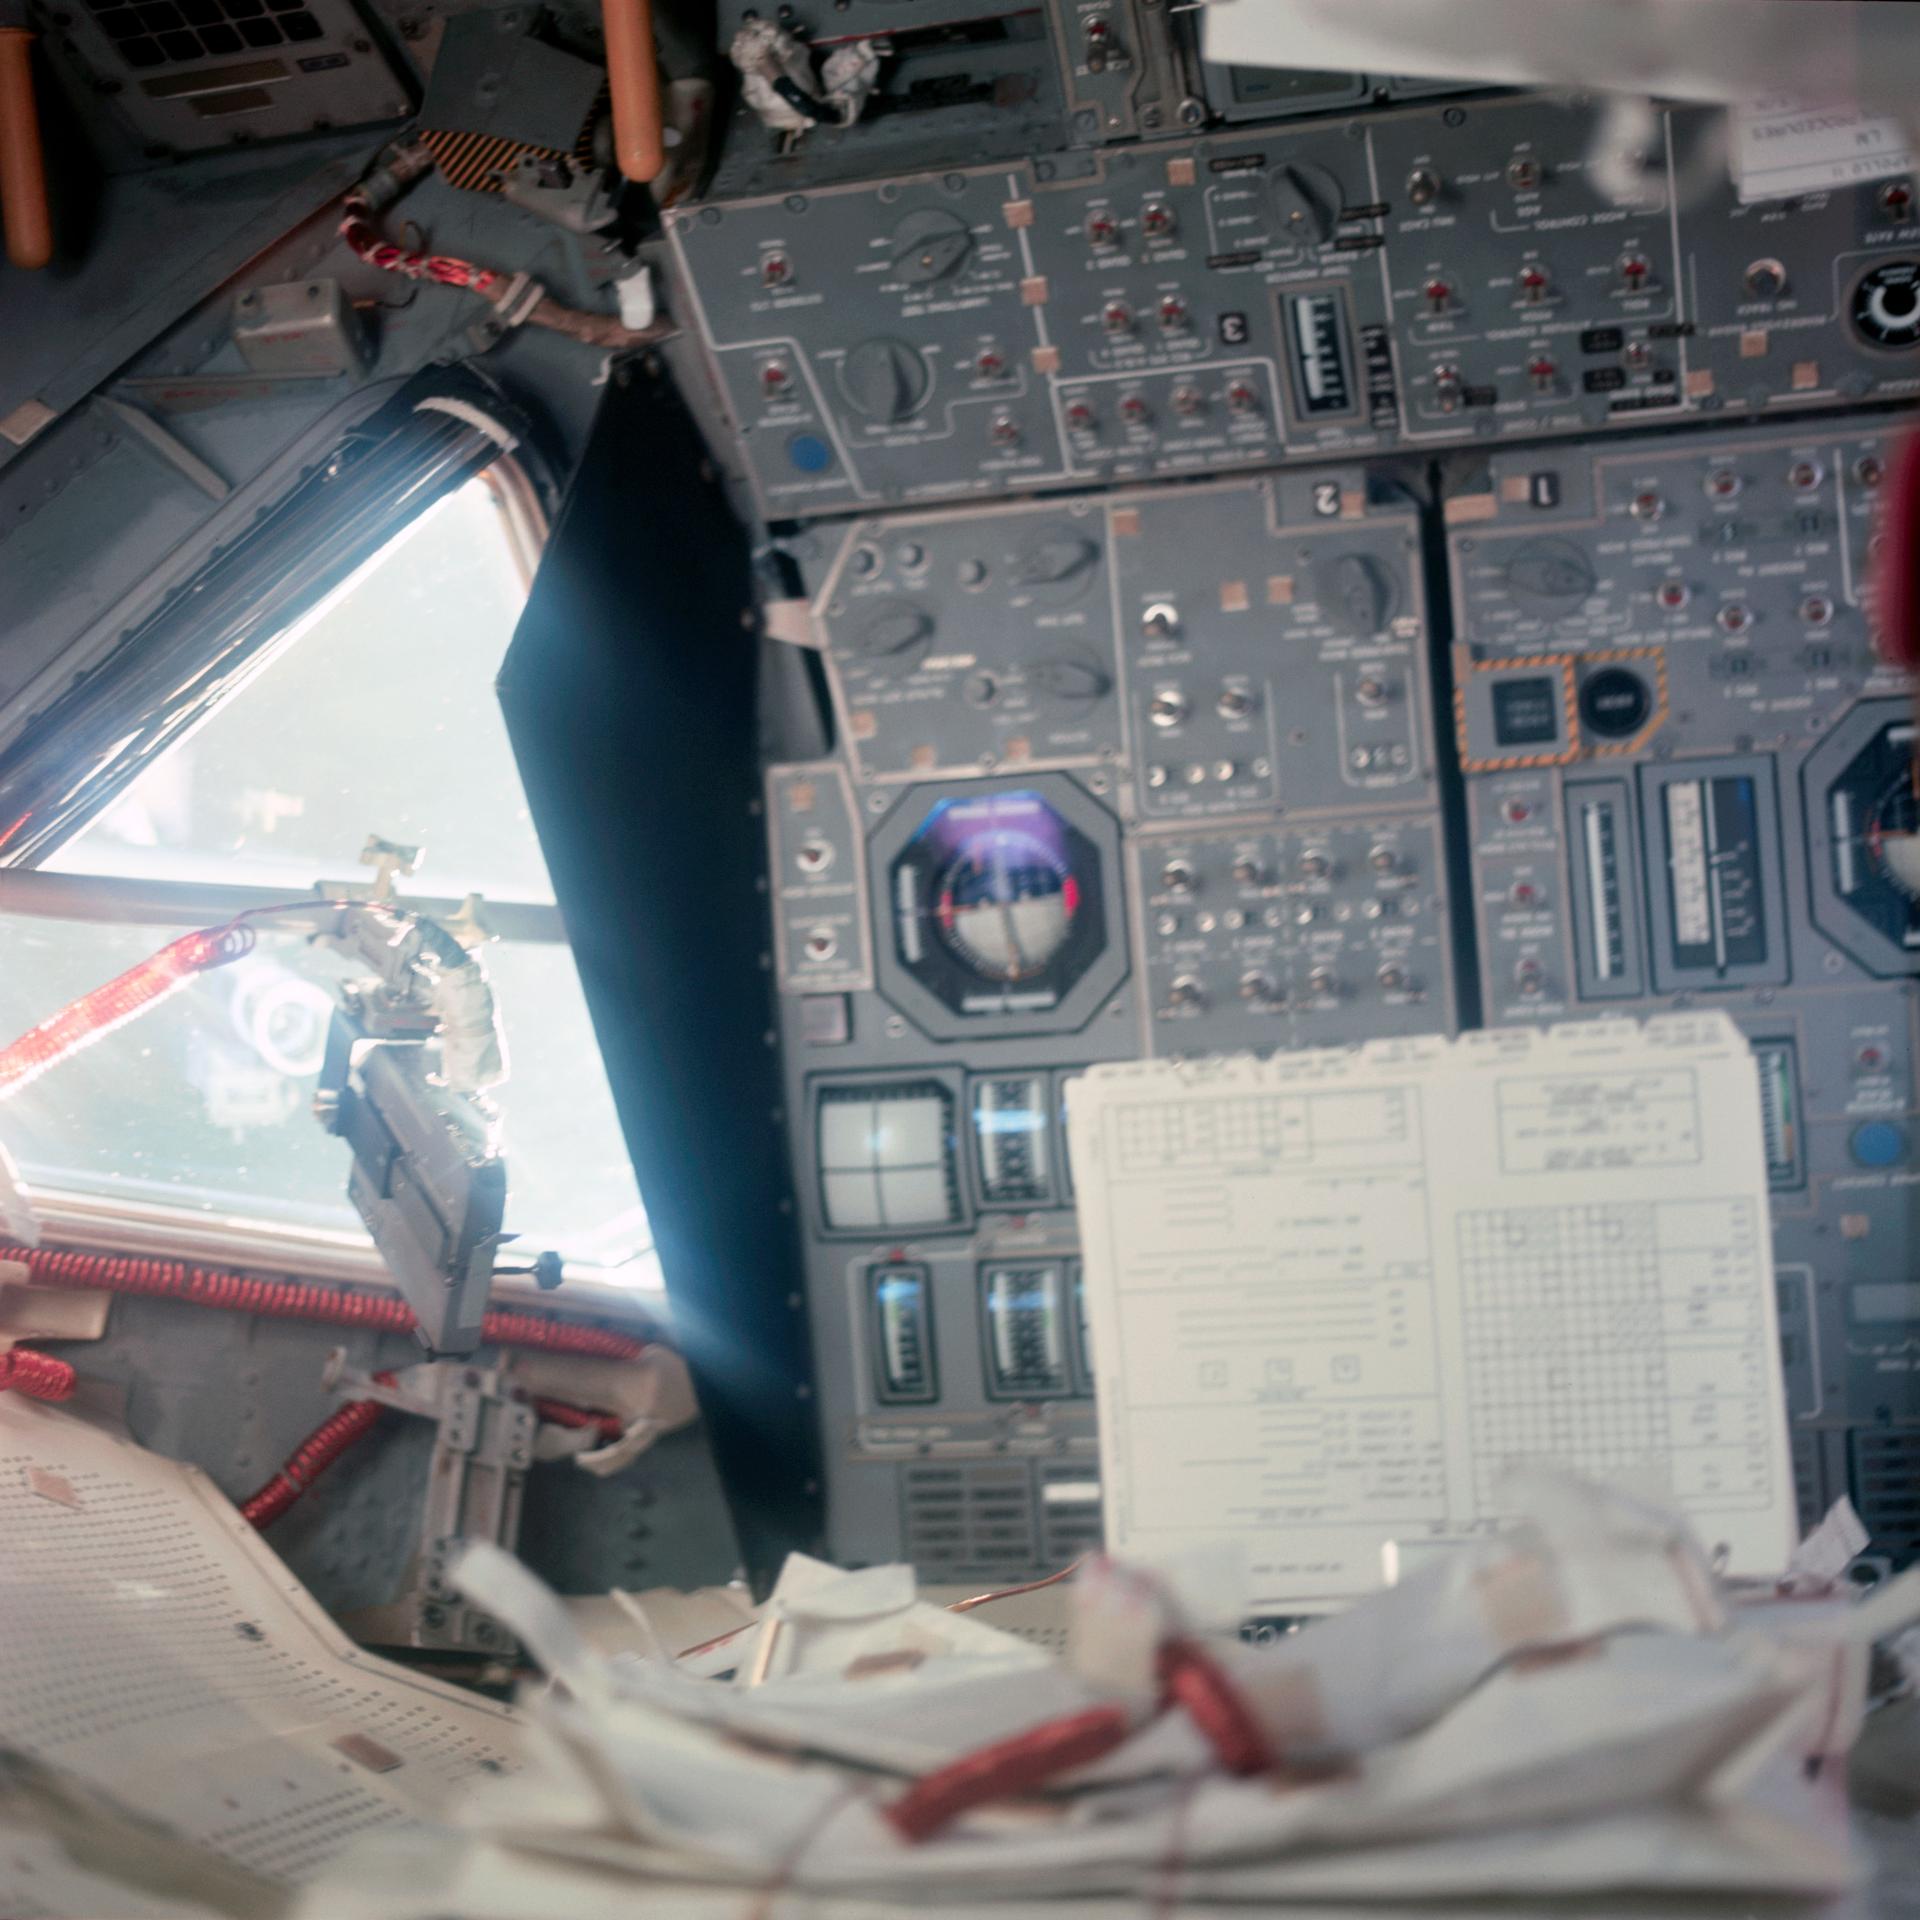
Backlit characters and icons are typically etched into aircraft panels and illuminated by LEDs. These elements must meet specific criteria for luminance (brightness), chromaticity (color accuracy), uniformity, and defect-free presentation. The inspection process must verify that each character:
· Emits light within a defined brightness range
· Displays the correct color within a specified tolerance
· There is uniform illumination across its surface
· It is free from defects such as dead pixels, light leakage, and etching errors
These specifications are not merely aesthetic; they serve critical functional and safety purposes. Pilots rely on these displays for essential operations, including navigation, communication, and system monitoring. Any defect or inconsistency can result in misinterpretation or distraction, particularly in low-light conditions or during emergencies, which can potentially compromise flight safety.
Traditional Inspection Methods: Fragmented and Time-Consuming
Historically, manufacturers have used a combination of tools to inspect backlit characters:
· Photometers to measure luminance
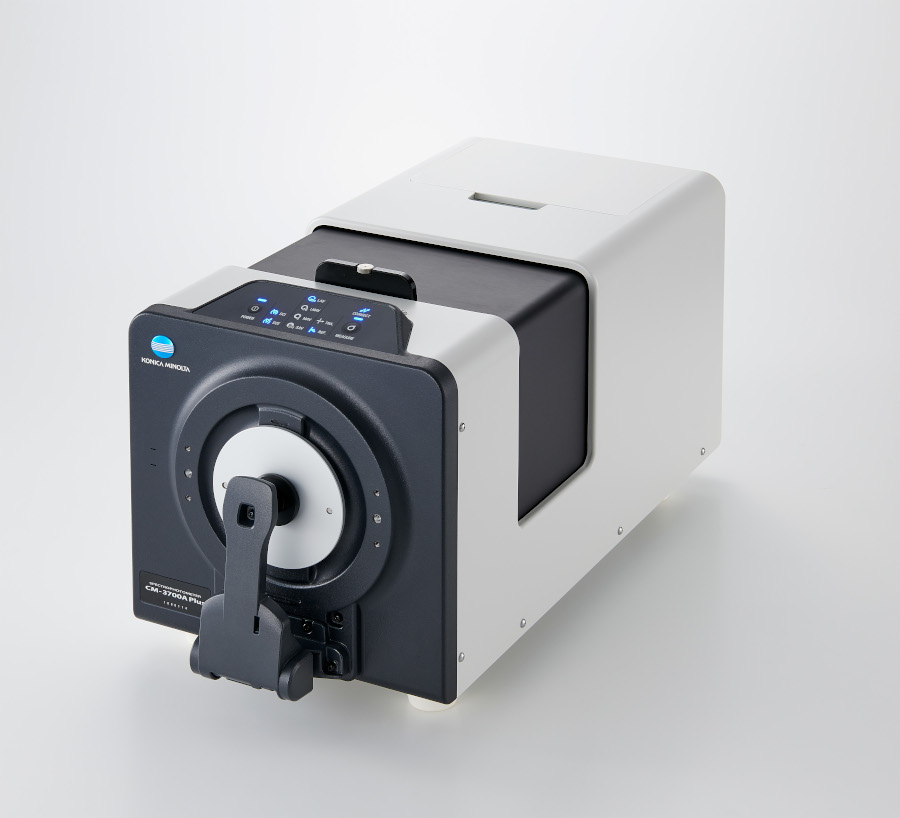
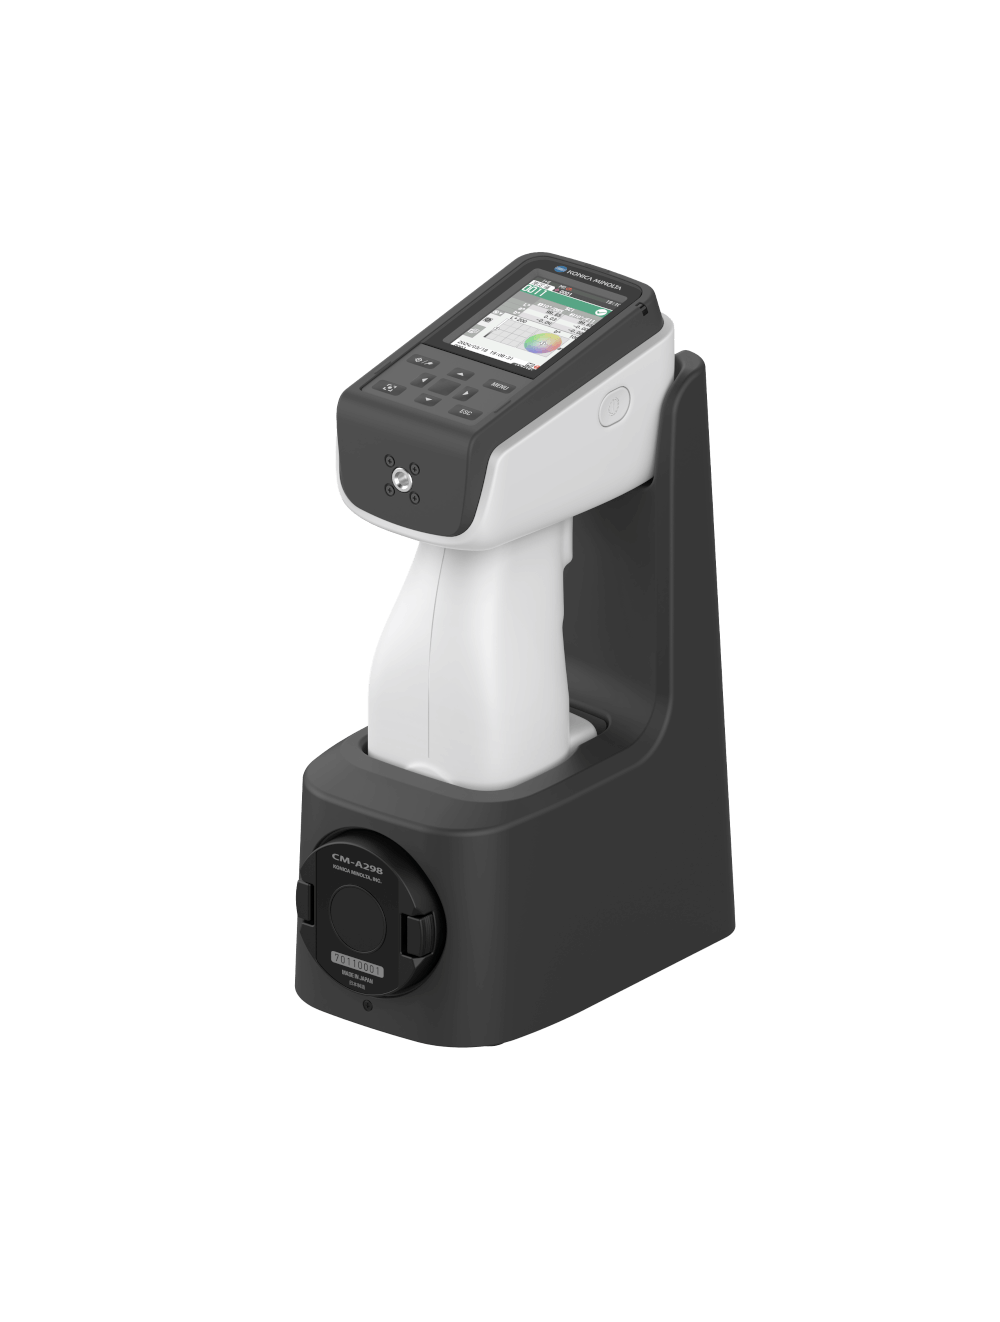
· Colorimeters or spectrometers to assess chromaticity
· Machine vision systems for character recognition and defect detection
While each tool serves its purpose, using them together introduces several challenges:
1. Multiple Systems: Each measurement type requires a separate device, which increases setup complexity and costs, as well as compatibility issues that may arise between different systems.
2. Low Throughput: Switching between systems and aligning each tool for every panel slows down the inspection process.
3. Imprecise Registration: Generic measurement shapes (e.g., circles or squares) do not accurately match the contours of actual characters, resulting in inaccurate readings.
4. Manual Setup: Operators must manually define points of interest (POIs) and align fixtures, a process that is time-consuming and prone to error.
5. Limited Scalability: High-mix, low-volume production environments require frequent reconfiguration, which traditional systems struggle to support.
For teams tasked with maintaining quality while meeting production targets, these limitations can be a significant bottleneck.
Integrated Imaging Systems: A More Efficient Approach
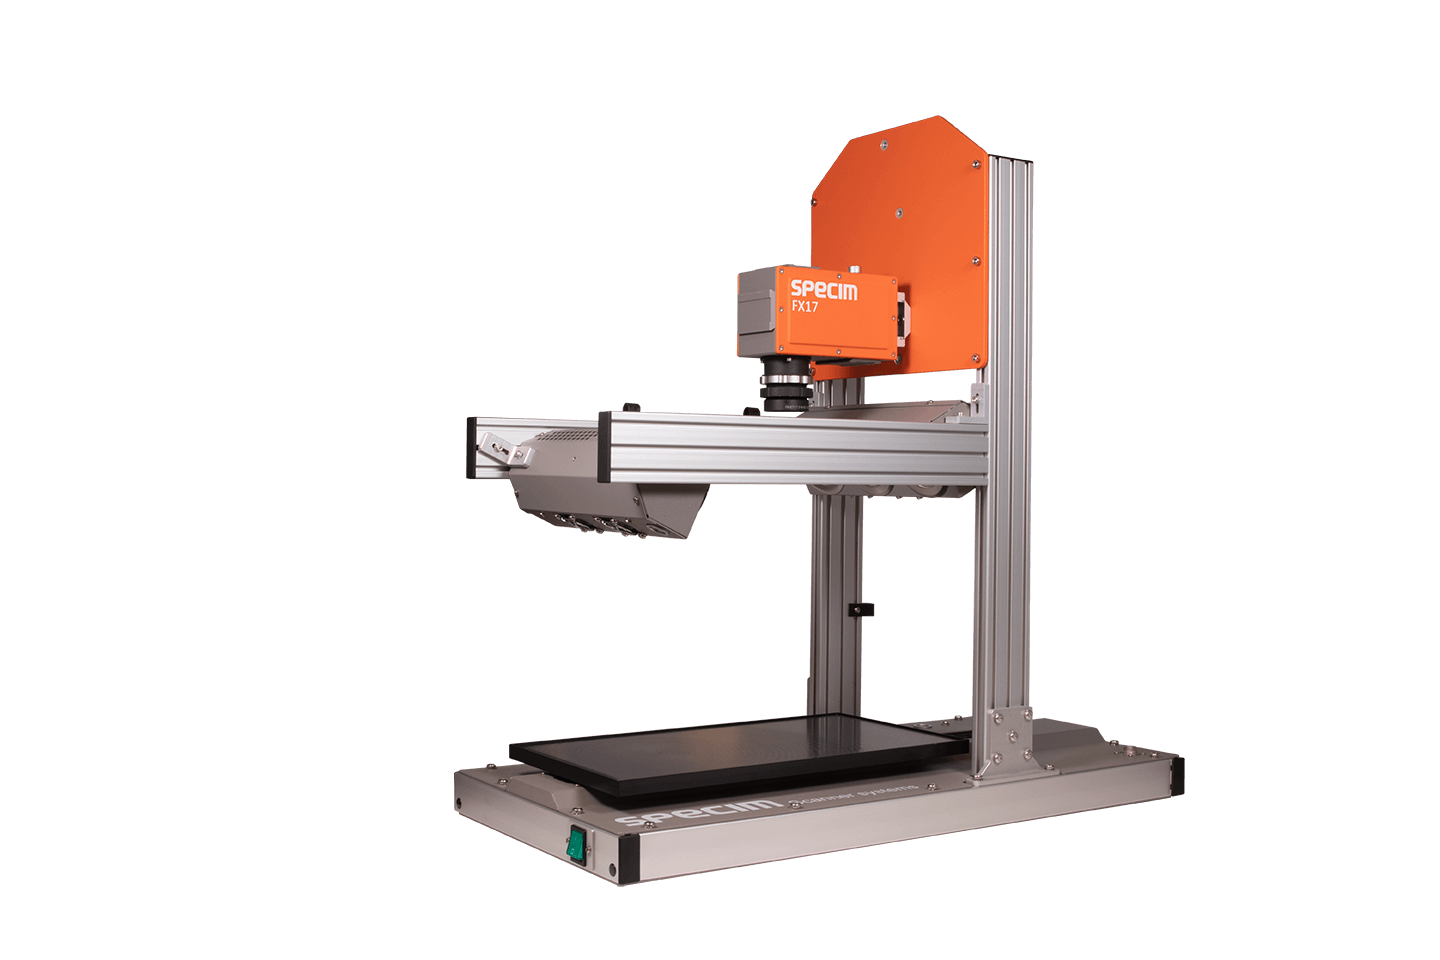
To overcome these challenges, manufacturers have designed integrated imaging systems that consolidate multiple inspection functions into a unified platform. Radiant Vision Systems, a member of the Konica Minolta Sensing family of businesses, offers a comprehensive solution that combines a high-resolution imaging photometer or colorimeter with advanced software designed for aerospace character evaluation.
Here’s how this type of system works, and why it may be worth considering:
Single-Camera Imaging
Instead of using multiple spot-based tools, the system captures a high-resolution image of the entire panel. This process enables the simultaneous analysis of all characters and icons within a single frame. Imaging photometers with resolutions up to 61 megapixels can detect fine details and subtle variations in brightness and color.
Dynamic Registration
The software automatically identifies and aligns each character or icon, regardless of its position or orientation, eliminating the need for manual alignment and ensuring consistent measurement across different panel layouts.
Three-Point Luminance Measurement
In compliance with MIL standards, the system measures luminance at three specific points within each character. Measuring three points helps verify uniform brightness and detect any inconsistencies that might affect readability.
Chromaticity and Color Tolerance
To evaluate color, use CIE color space coordinates (xy, u’v’, or Lab*). Users can define acceptable color regions and set pass/fail thresholds to suit their specific needs, particularly useful for distinguishing between similar colors (e.g., white vs. green) and ensuring consistency across production batches.
Defect Detection
By comparing each panel to a stored sample, the system can identify inclusions (extra-bright areas) and exclusions (missing-bright areas). This comparison helps catch issues such as dead LEDs, particles under diffusers, or etching errors that may not be visible to the naked eye.
Pass/Fail Evaluation
Each character is evaluated based on user-defined thresholds for luminance, color, and defects. The results are presented in real-time with intuitive visual cues, enabling operators to quickly interpret the data and take appropriate action.
Considerations for End Users
If you are part of a team evaluating inspection systems, here are some practical questions to consider:
· Does the system support your current standards and specifications? Look for compatibility with MIL-DTL-7788G, MIL-STD-3009, and other relevant standards.
· Can it handle your panel variety? If you work in a high-mix environment, dynamic registration and font training capabilities are essential.
· How easy is it to set up and use? Systems that minimize manual configuration and offer intuitive interfaces will reduce training time and operator error.
· What is the throughput? Evaluate how many panels the system can inspect per hour and how quickly it switches between different layouts..
· Is the data traceable? Look for systems that offer detailed reporting and data export for compliance and audit purposes.
· Can it be integrated into your production line? Some systems are designed for lab use, while others support in-line inspection with automation features.
Future-Proofing Your Inspection Capabilities
As aircraft designs evolve, so do the demands on inspection systems. Emerging technologies, such as microLED displays, curved panels, and dynamic lighting interfaces, introduce new challenges for measurement and defect detection. Imaging systems with flexible software and scalable hardware are better positioned to adapt to these changes.
Moreover, the integration of machine learning and AI into inspection software is beginning to enhance pattern recognition, anomaly detection, and predictive maintenance. While these features may not be essential today, choosing a system with a roadmap for future upgrades can help protect your investment.
Final Thoughts
Backlit character inspection is a complex but essential task in aerospace manufacturing. For end users responsible for quality assurance, understanding the strengths and limitations of available tools is key to making informed decisions. While traditional methods can still be effective in specific contexts, integrated imaging systems provide a more efficient, scalable, and accurate approach, particularly for teams working with diverse panel designs and tight production schedules.
When evaluating systems for your lab or production line, consider not only the technical specifications but also the workflow impact, operator experience, and long-term adaptability. The right solution can streamline your inspection process, enhance compliance, and ultimately contribute to safer and more reliable aircraft systems.
