Konica Minolta Sensing Americas News< Back to News
Konica Minolta to Launch the CM-3700A Plus, the Flagship Spectrophotometer Model Delivering High Accuracy and Reliability
Providing Stability and Reassurance to Users Who Demand Superior Quality
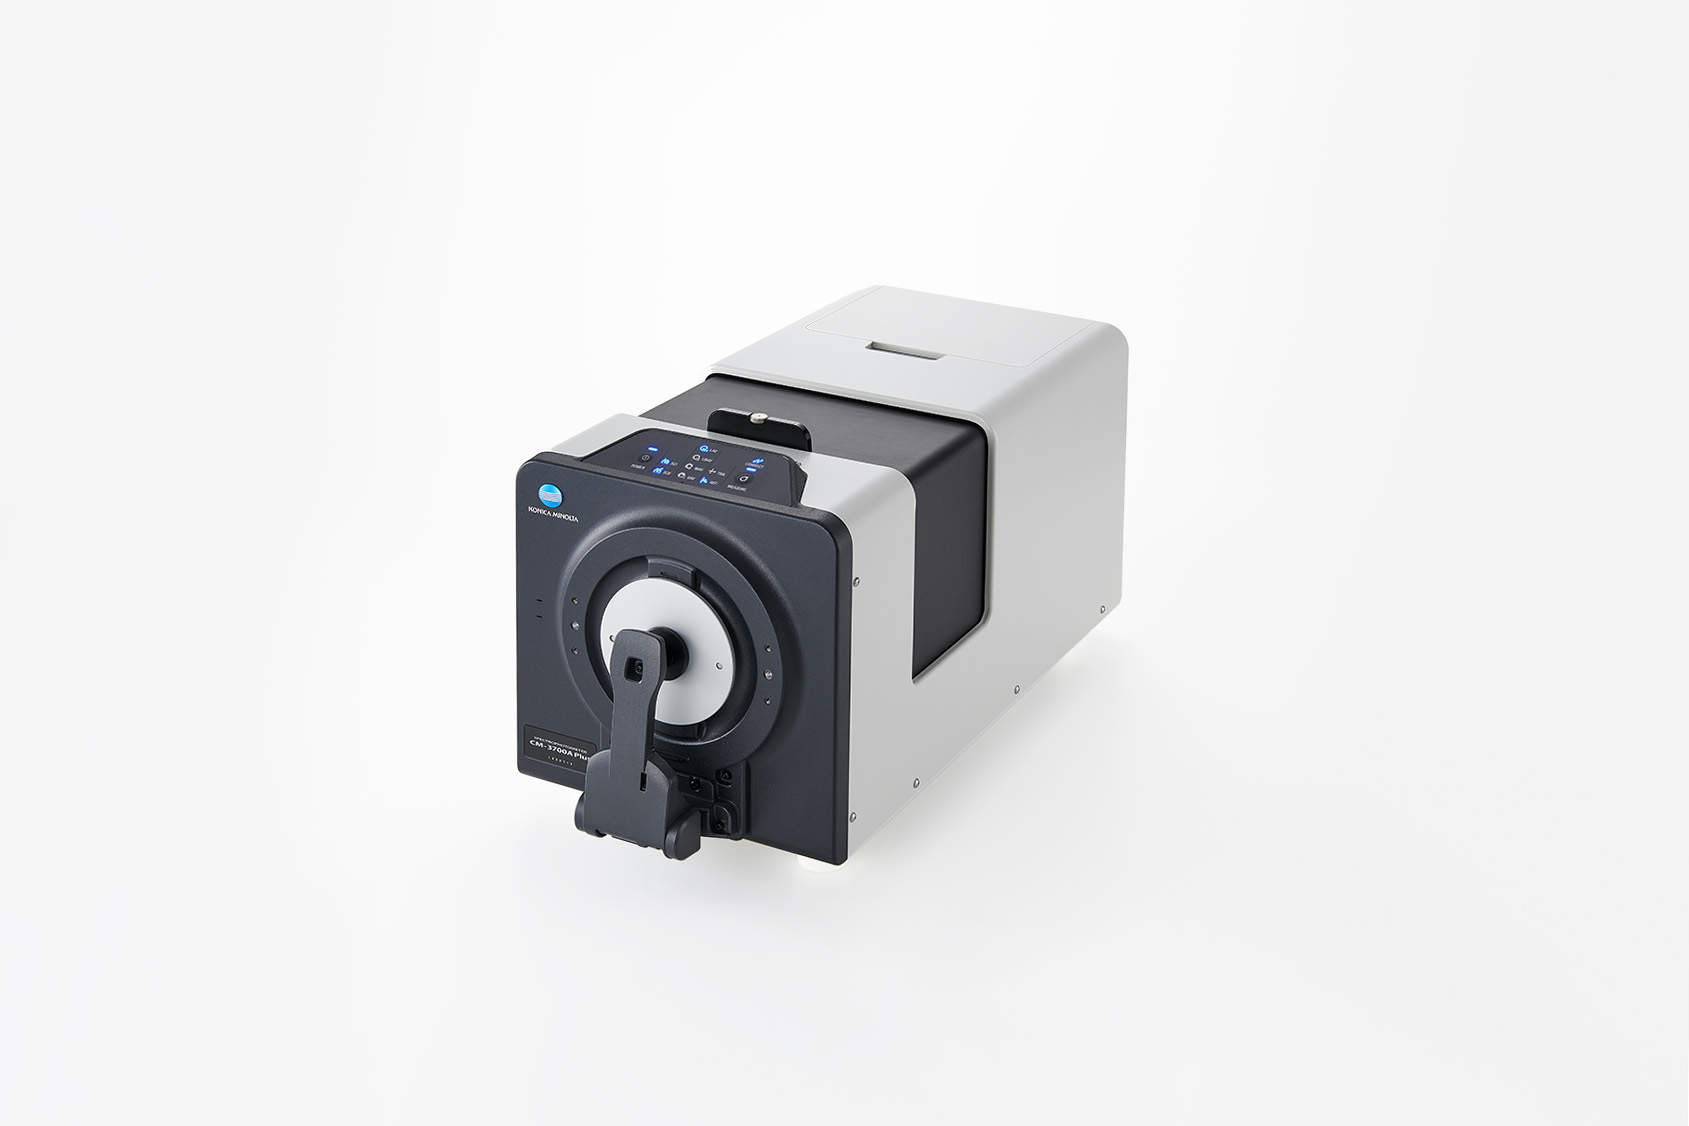
Ramsey N.J. (December 16, 2024) – Konica Minolta Sensing Americas, Inc. (Konica Minolta) today announced that the Company will launch the CM-3700A Plus, the flagship spectrophotometer model.

In quality control in the manufacturing industry, color management using measuring instruments is crucial. Due to their superb reliability and multifunctionality, Konica Minolta’s spectrophotometers are used for various applications, including quality control, production, and R&D, in industries where color measurement and management are required, such as automobiles, electrical equipment, smartphones, cosmetics, paints, plastics, building materials, and textiles.
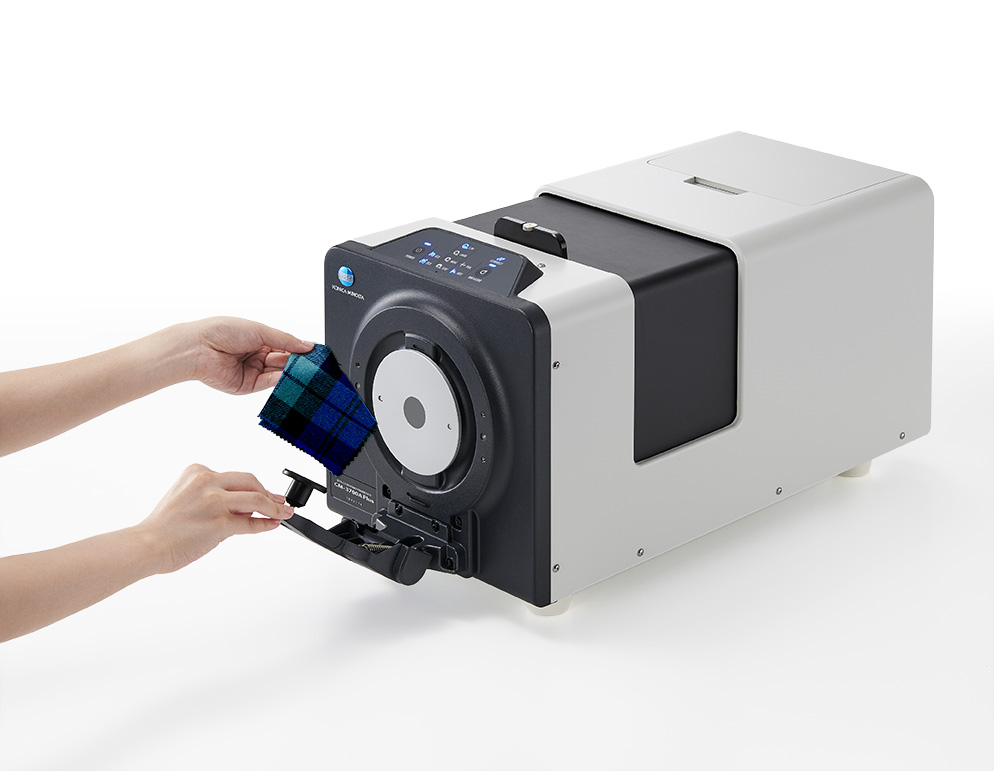
The CM-3700A Plus is the successor model to the CM-3700A that has been highly evaluated and widely used by many companies globally as the reference standard instrument for measuring the colors of objects. This new flagship spectrophotometer model delivers high accuracy and reliability; world-class accuracy has been realized by harnessing Konica Minolta’s optical technologies. The CM-3700A Plus also comes with new functions, such as an easy-to-position camera viewfinder and a sample thermometer to measure the temperature concurrently with colors, thereby realizing more rigorous color management. Given that it will be used as a reference standard instrument in color management, the CM-3700A Plus is designed to ensure high compatibility with the conventional model and stably produce reliable measurement values over the long term by using highly durable parts, thereby helping to improve product quality in manufacturing.
Values Provided by the CM-3700A Plus Spectrophotometer
1. Highly accurate measurement
The CM-3700A Plus features significantly improved repeatability*1 of black, which is particularly difficult to measure with high accuracy, compared to the conventional model. Because differences in measurement values between instruments are exceedingly small
(inter-instrument agreement is very high) at ΔE*ab 0.08 or less,*2 the CM-3700A Plus is advantageous when using multiple instruments or instruments at multiple locations across the supply chain. Data compatibility with the conventional model CM-3700A enables the continued use of measurement data that has previously been accumulated. This new model also ensures high durability in terms of temperature change and aged deterioration by using a polychromator unit housing made of stainless steel.
2. Improved operability and convenience

3. Functionality and software for high reliability
(1) Higher measurement efficiency and advanced color management
The CM-3700A Plus enables the concurrent measurement of SCI and SCE,*4 almost halving the measurement time compared to the conventional model. Equipped with an environmental thermo-hygrometer and a sample thermometer, this new model enables checking and recording of the temperature and humidity and sample surface temperature*5 of the measurement environment concurrently with color measurement.

The CM-3700A Plus is manufactured in Japan under a consistent quality control system. It is also equipped with a WAA (Wavelength Analysis & Adjustment) function, which compensates for wavelength shifts in measurement values due to external factors, including impacts during use and changes in ambient temperature. Together with annual calibration and maintenance, it offers a sense of reassurance and high accuracy.
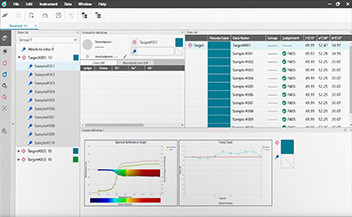
(3) Color data management using the SpectraMagic NX2 color data software
The SpectraMagic NX2*6 color data software enables color management and data classification using various color indices and graphs, and communication with business partners using color values. In addition, with a premium license of Ver. 1.5 or later it is possible to monitor the status of instruments using the daily inspection application, which is a new function.
Main Specifications
The information, specifications, and product appearance provided in this news release are subject to change without notice.
| Illumination/viewing system | Reflection measurement | di: 8º, de: 8º (diffused illumination, 8° viewing angle) |
| SCI (specular component included)/SCE (specular component excluded) switchable, concurrent measurement enabled | ||
| Conforms to JIS Z 8722 Condition: Geometric Condition c, ISO 7724/1, CIE No. 15 (2004), ASTM E 1164, and DIN 5033 Teil 7 | ||
| Transmittance measurement | di: 0º, de: 0º (diffused illumination, 0° viewing angle) | |
| Conforms to JIS Z 8722 Condition: Geometric Condition g, CIE No. 15 (2004), ASTM E1164, and DIN 5033 Teil7 | ||
| Measurement/
Illumination area |
Reflection measurement | LAV: Φ25.4/Φ28 mm LMAV: Φ16/Φ20 mm MAV: Φ8/Φ11 mm SAV: 3×5/5×7 mm |
| Transmittance measurement | Approx. Φ20/Φ25 mm | |
| Wavelength measurement range | 360 nm–740 nm | |
| Repeatability | White | Color value: Standard deviation within ΔE*ab 0.005 Spectral reflectance: Standard deviation within 0.05% (When a white calibration plate is measured 30 times at 10-second intervals after white calibration) |
| Black | Color value: Standard deviation within ΔE*ab 0.02 Spectral reflectance: Standard deviation within 0.02% (When a BCRA Black tile (reflectance: 1%) is measured 30 times at 10-second intervals after white calibration) |
|
| Inter-instrument agreement | Within ΔE*ab 0.08 (Based on average for 12 BCRA Series II color tiles; LAV/SCI. Compared to values measured with a master body under Konica Minolta standard measurement conditions) | |
| Size (W×H×D) | Approx. 307 × 271 × 600 mm | |
| Weight | Approx. 20 kg | |
Company profile of Konica Minolta Sensing Americas
Konica Minolta Sensing Americas, Inc. (KMSA), a wholly owned subsidiary of Konica Minolta, Inc., Sensing Business Unit is recognized as the international leader of industrial color and light measurement. The company is responsible for product lines that continuously revolutionize how visual perception is measured by the world.
Konica Minolta Sensing Americas’ Ramsey, New Jersey corporate headquarters is fully equipped with a state of the art service center, technical support center, and a focused sales force dedicated to both the North American and South American regions. When it comes to color and light measurement, the world looks to Konica Minolta.
Contact: Peter J Roos
Marketing Manager Konica Minolta Sensing Americas Phone: (201) 236-4300 Toll Free: (888) 473-2625 Web: https://sensing.konicaminolta.us Email: marketing.sus@konicaminolta.com
Terms and product names may be trademarks or registered trademarks of their respective holders and are hereby acknowledged
*1: Repeatability refers to the measurement error when the same specimen is measured repeatedly under the same conditions. It is an index for measurement accuracy. The lower the value, the higher the reliability of measurement values.
*2: An average for 12 BCRA Series II color tiles.
*3: For connection with a PC, SpectraMagic NX2 Ver. 1.5, software which is separately sold, is required.
*4: SCI: Abbreviation for “Specular Component Included.” In this measurement method, specularly reflected light is included in the diffused illumination. The colors of materials are evaluated regardless of the surface condition.
SCE: Abbreviation for “Specular Component Excluded.” In this measurement method, only diffuse reflected light is measured. Colors close to those of visual observation are evaluated.
*5: The sample temperature is measured only during reflectance measurements. *6: SpectraMagic NX2 is separately sold software.
*7: HSI is a method that uses a camera with narrow bandwidth over a wide spectral range from the visible to mid-infrared wavelength region to identify substances in an area. It is expected to be used for applications such as recycling, material/resource identification, food analysis, environmental safety, product surface condition analysis, etc.
* Product names and other names indicated in this news release are registered trademarks or trademarks of each company.

